
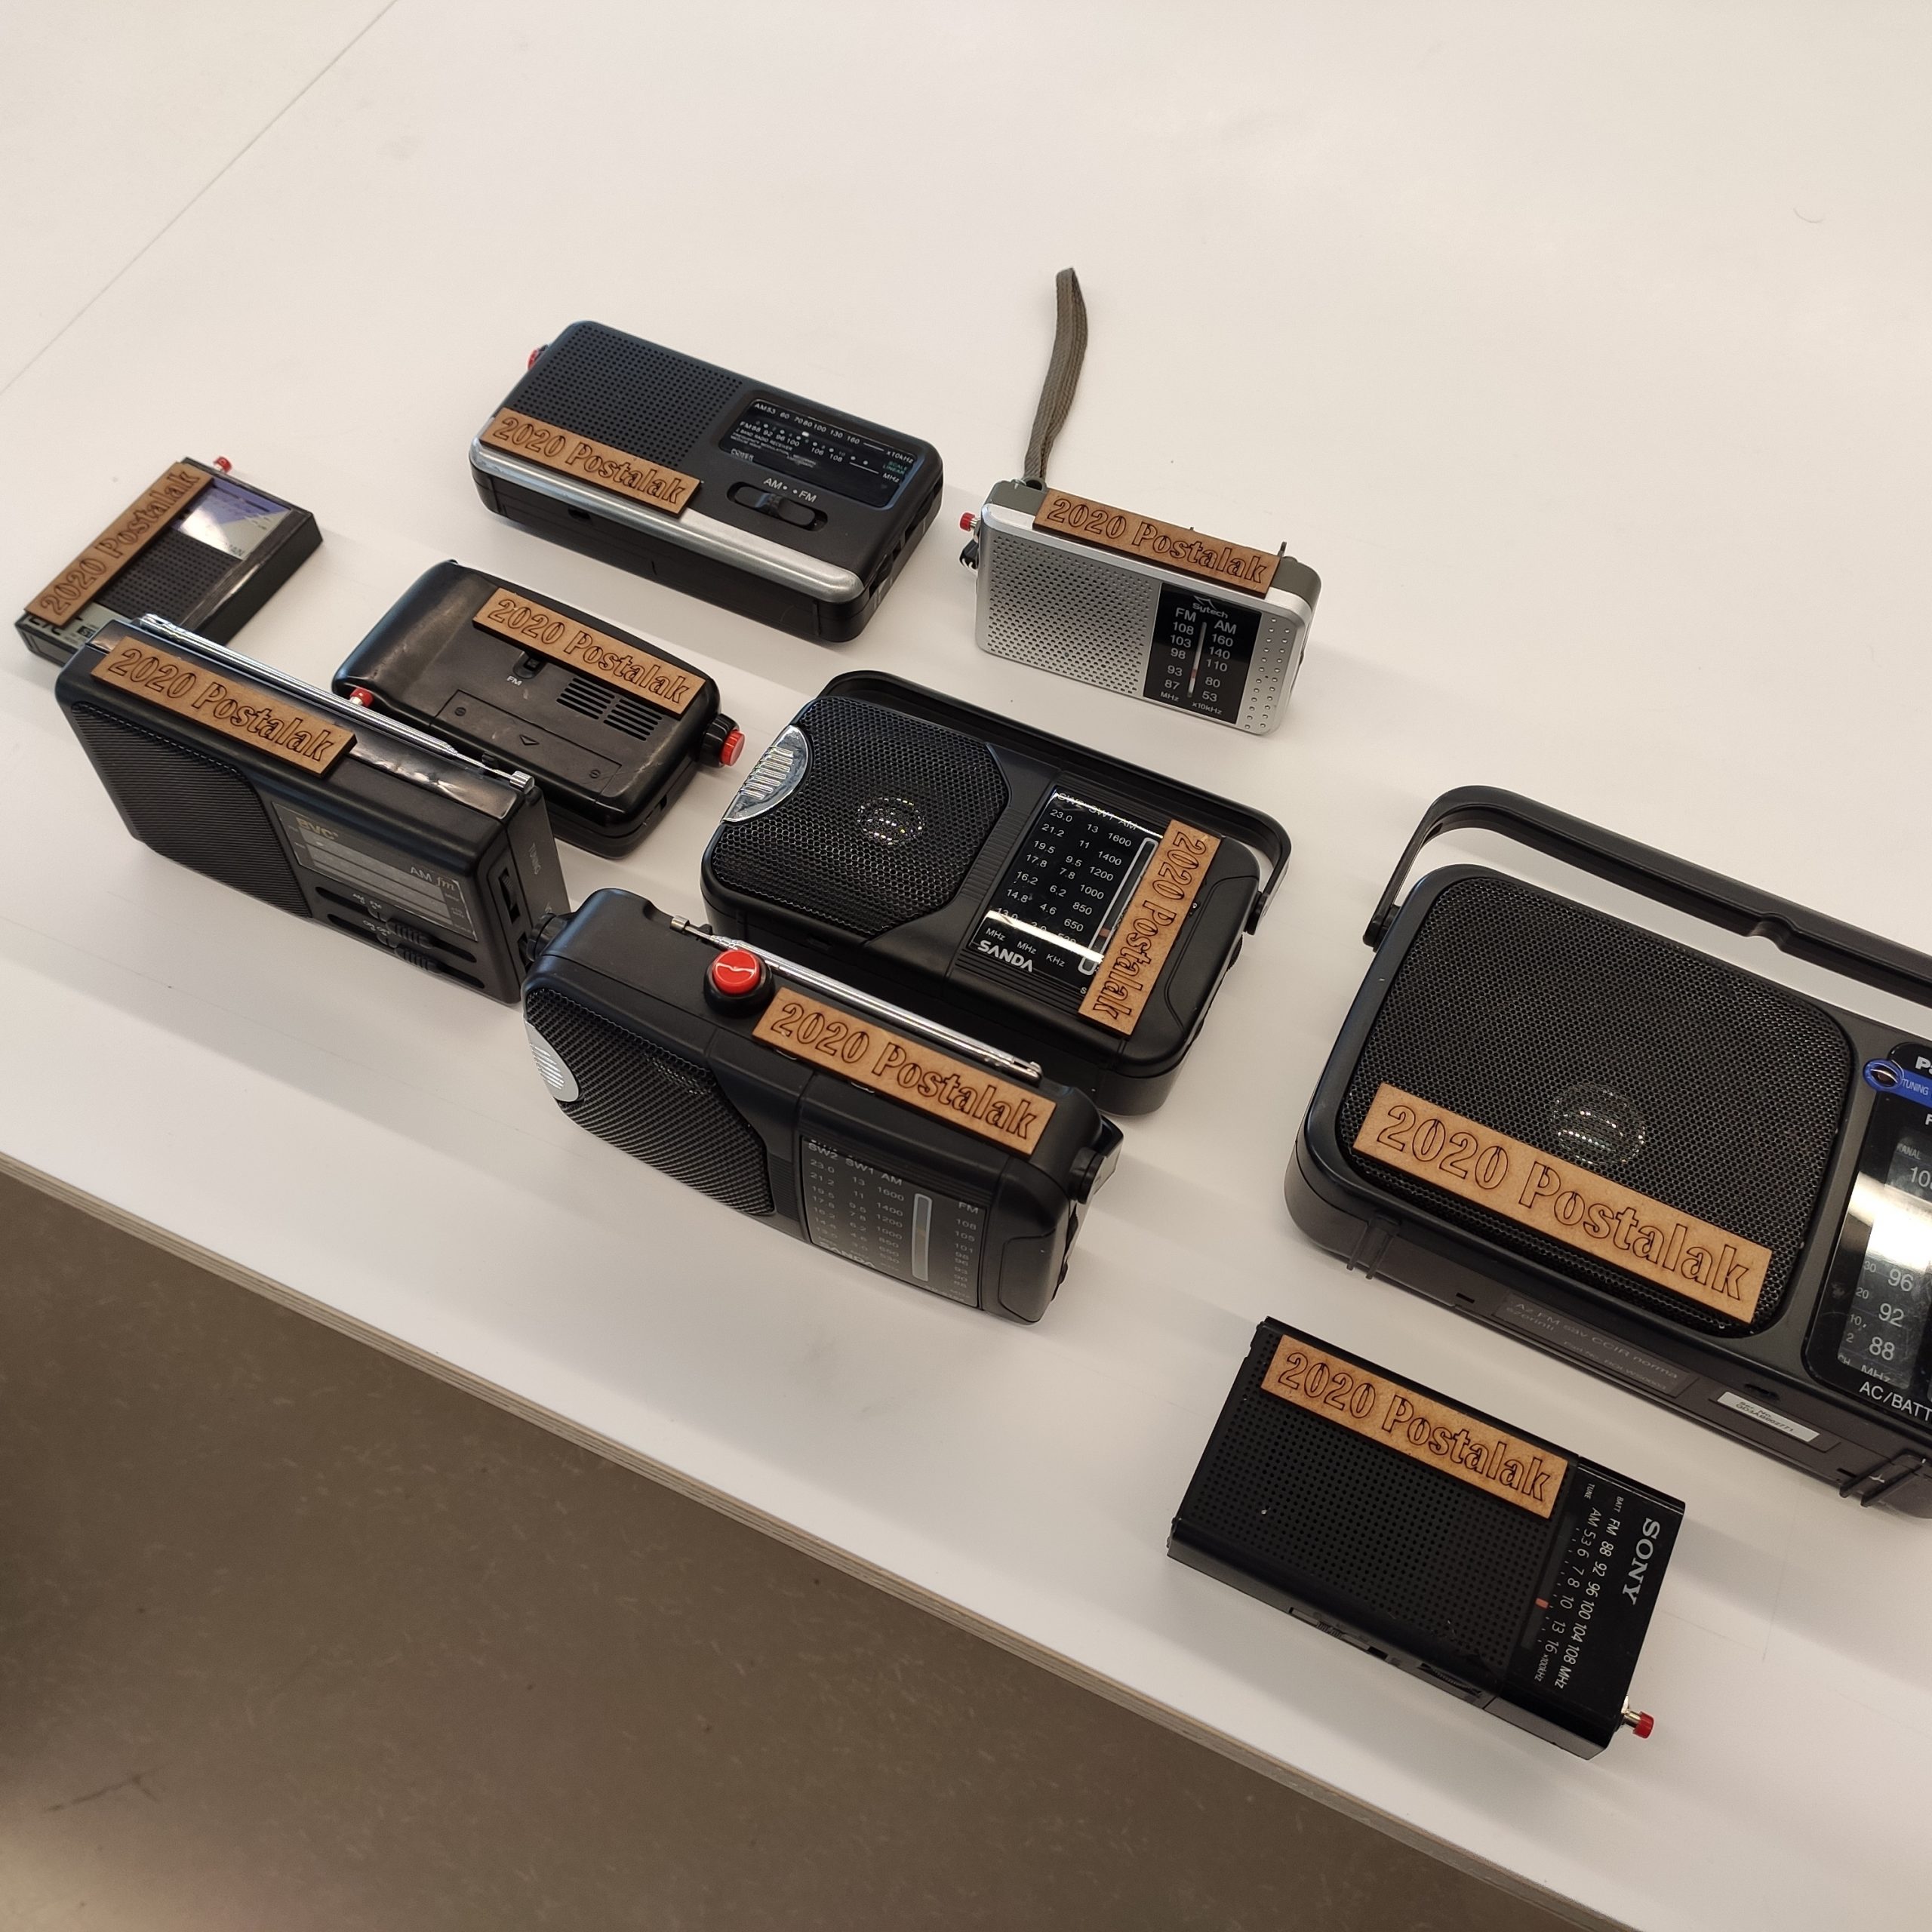
The aim of this project is to distribute some adapted radios in some shops of San Sebastian, and by this way, any citizen will have the choice to pick up one of them and listen to the radio programme recorded by Postalak 2020. The objective of these adapted radios is to give an opportunity to listen to the radio programme to those citizens who do not have Internet connection at home.
Step by step
- Basic MP3 player
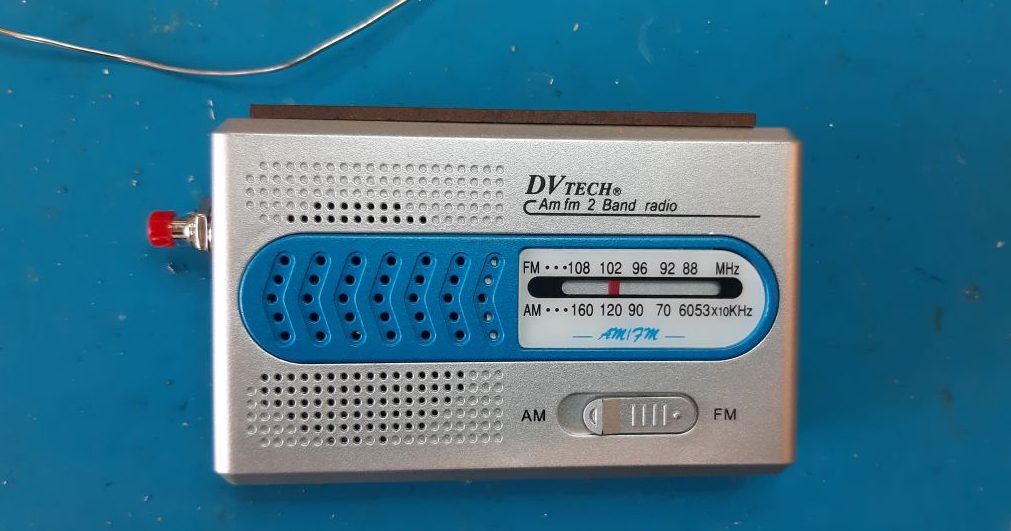
- Radio. Anyone is ok. The loudspeaker is good enough.
- Button
- Cablecillo
- Tinner
- Tin
- Suction desoldering iron
- Desoldering mesh
- Glue gun
- Glue sticks
- MicroSD card
- Wire Stripper (Not necessary if you work easily with scissors)
- Scissors or Cutting pliers
- Multipoint screwdriver (small flat head and crosstip screwdriver, at least)
To modify a radio, follow the procedure below:
1.- Take the MP3 player out of its housing. To do this, the player must be opened carefully to remove both the electronics and the battery.

2.- Open the radio and determine where to put both the play button and the electronic / battery kit of the MP3 player.


In this showcase, the space that the MP3 player will occupy is the space of the batteries. This provides great advantages: you have easy access to the player in case you want to change the playlist and you do not have to make a complex emptying of the original electronics of the radio, maintaining that “feeling” of a real radio.
The occasion is also used to test where the button could fit. The headphone jack is usually a good place. If the button is too large or the radio does not have a headphone jack, a hole will have to be drilled in the housing later on.
3.-Once the position of the MP3 player and the button has been identified, check that they do not interfere with the internal parts of the radio. In case of interference you have different options:
- Find a new location.
- Desolder components, trying to maintain the original “feeling” of the radio. Removing parts like switches, buttons and volume/ tuning wheels should be avoided at all costs. If you do not have tools for desoldering, cut the plate in the minimal possible way.
- Remove the plate. This means that the mechanisms that make up the “feeling” of the radio (switches, buttons and volume/ tuning wheels) must be glued to the housing.
4.- Once the definite location of the MP3 player and the button has been decided, the radio can be modified.
a) First, the cables connecting the loudspeaker to the plate have to be cut.

b) Strip the speaker cables and solder them to the MP3 player at the points marked red in the following image. It does not matter which wire is soldered to which.


c) Tin-plate the button to the central button of the MP3 player. First, strip two cables of the appropriate size on both ends. These should be soldered to the MP3 player, one to the magenta point, and the other to the cyan point.

d) Solder the pushbutton to the cables worked on in the previous step. If everything is correct, the MP3 player will play music through the radio speaker when you press the button, as long as you have a microSD card that holds MP3 files.

5.- Make potential other modifications to the casing (see step 3) and reassemble the radio, leaving access to the MP3 player. If everything is correct, put back all the screws.

6.- This is the final result.

7.- This is how it works (it is the same as the test in step 5): When you press the button the music will play, when you press it again it will stop. If the battery runs out, charge it with a miniUSB cable.