
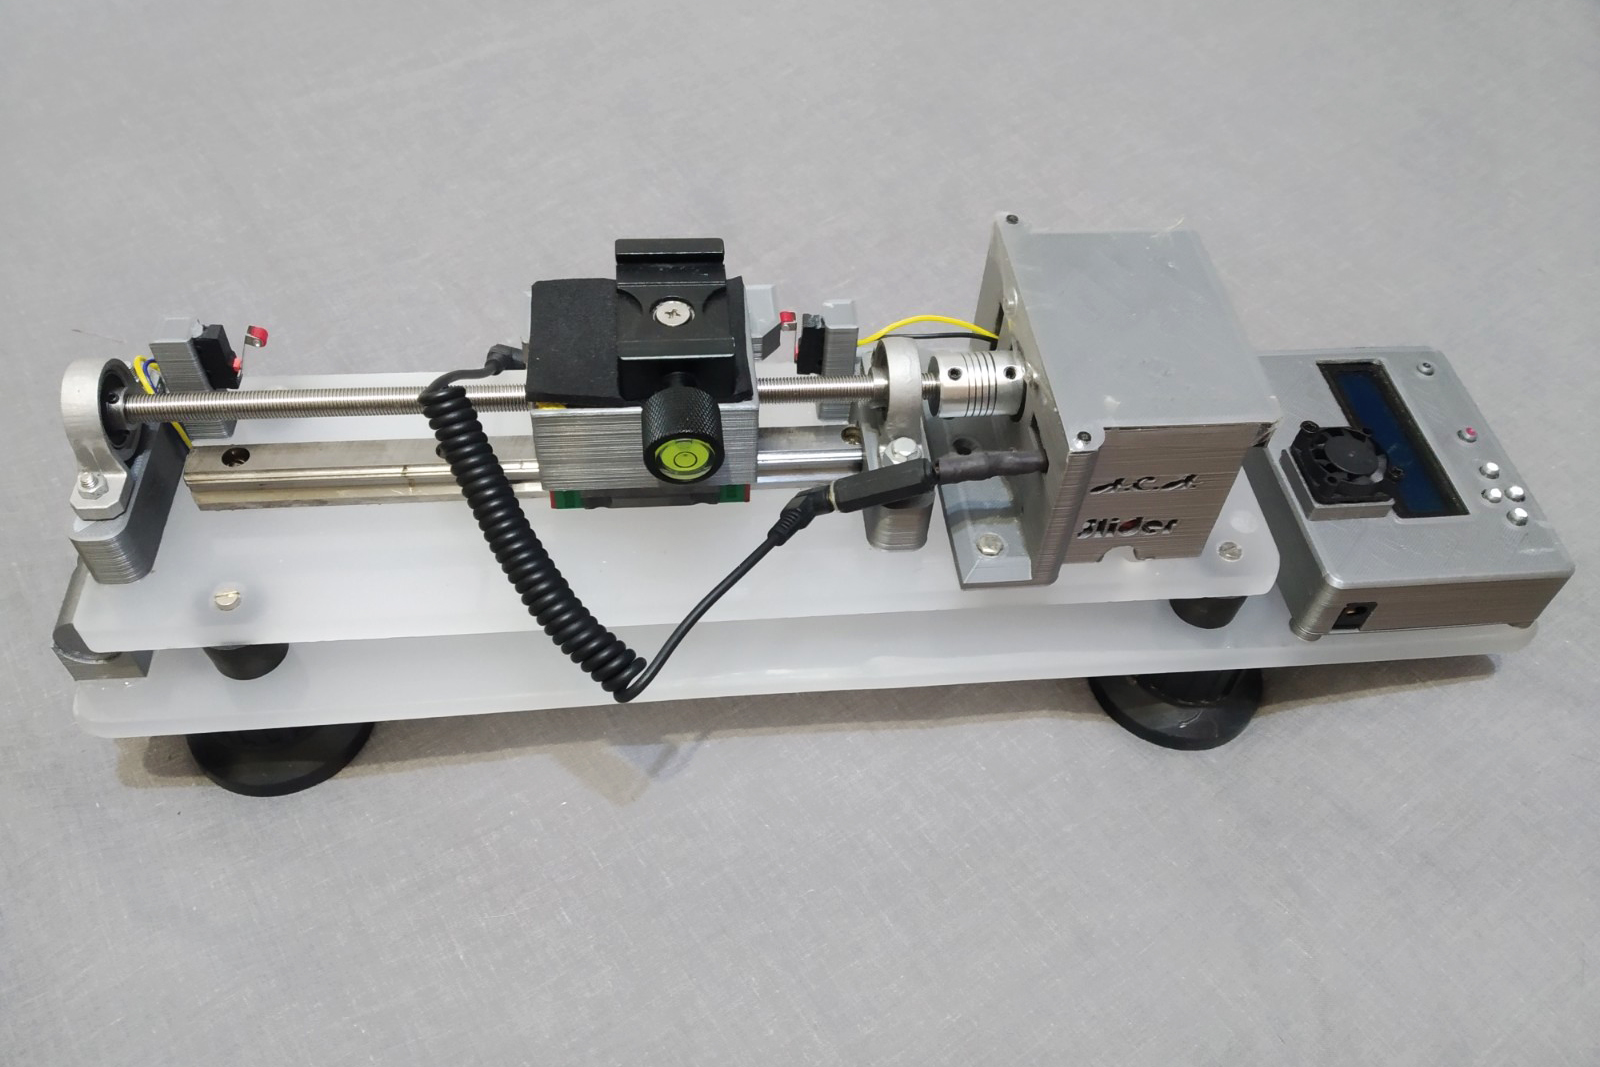
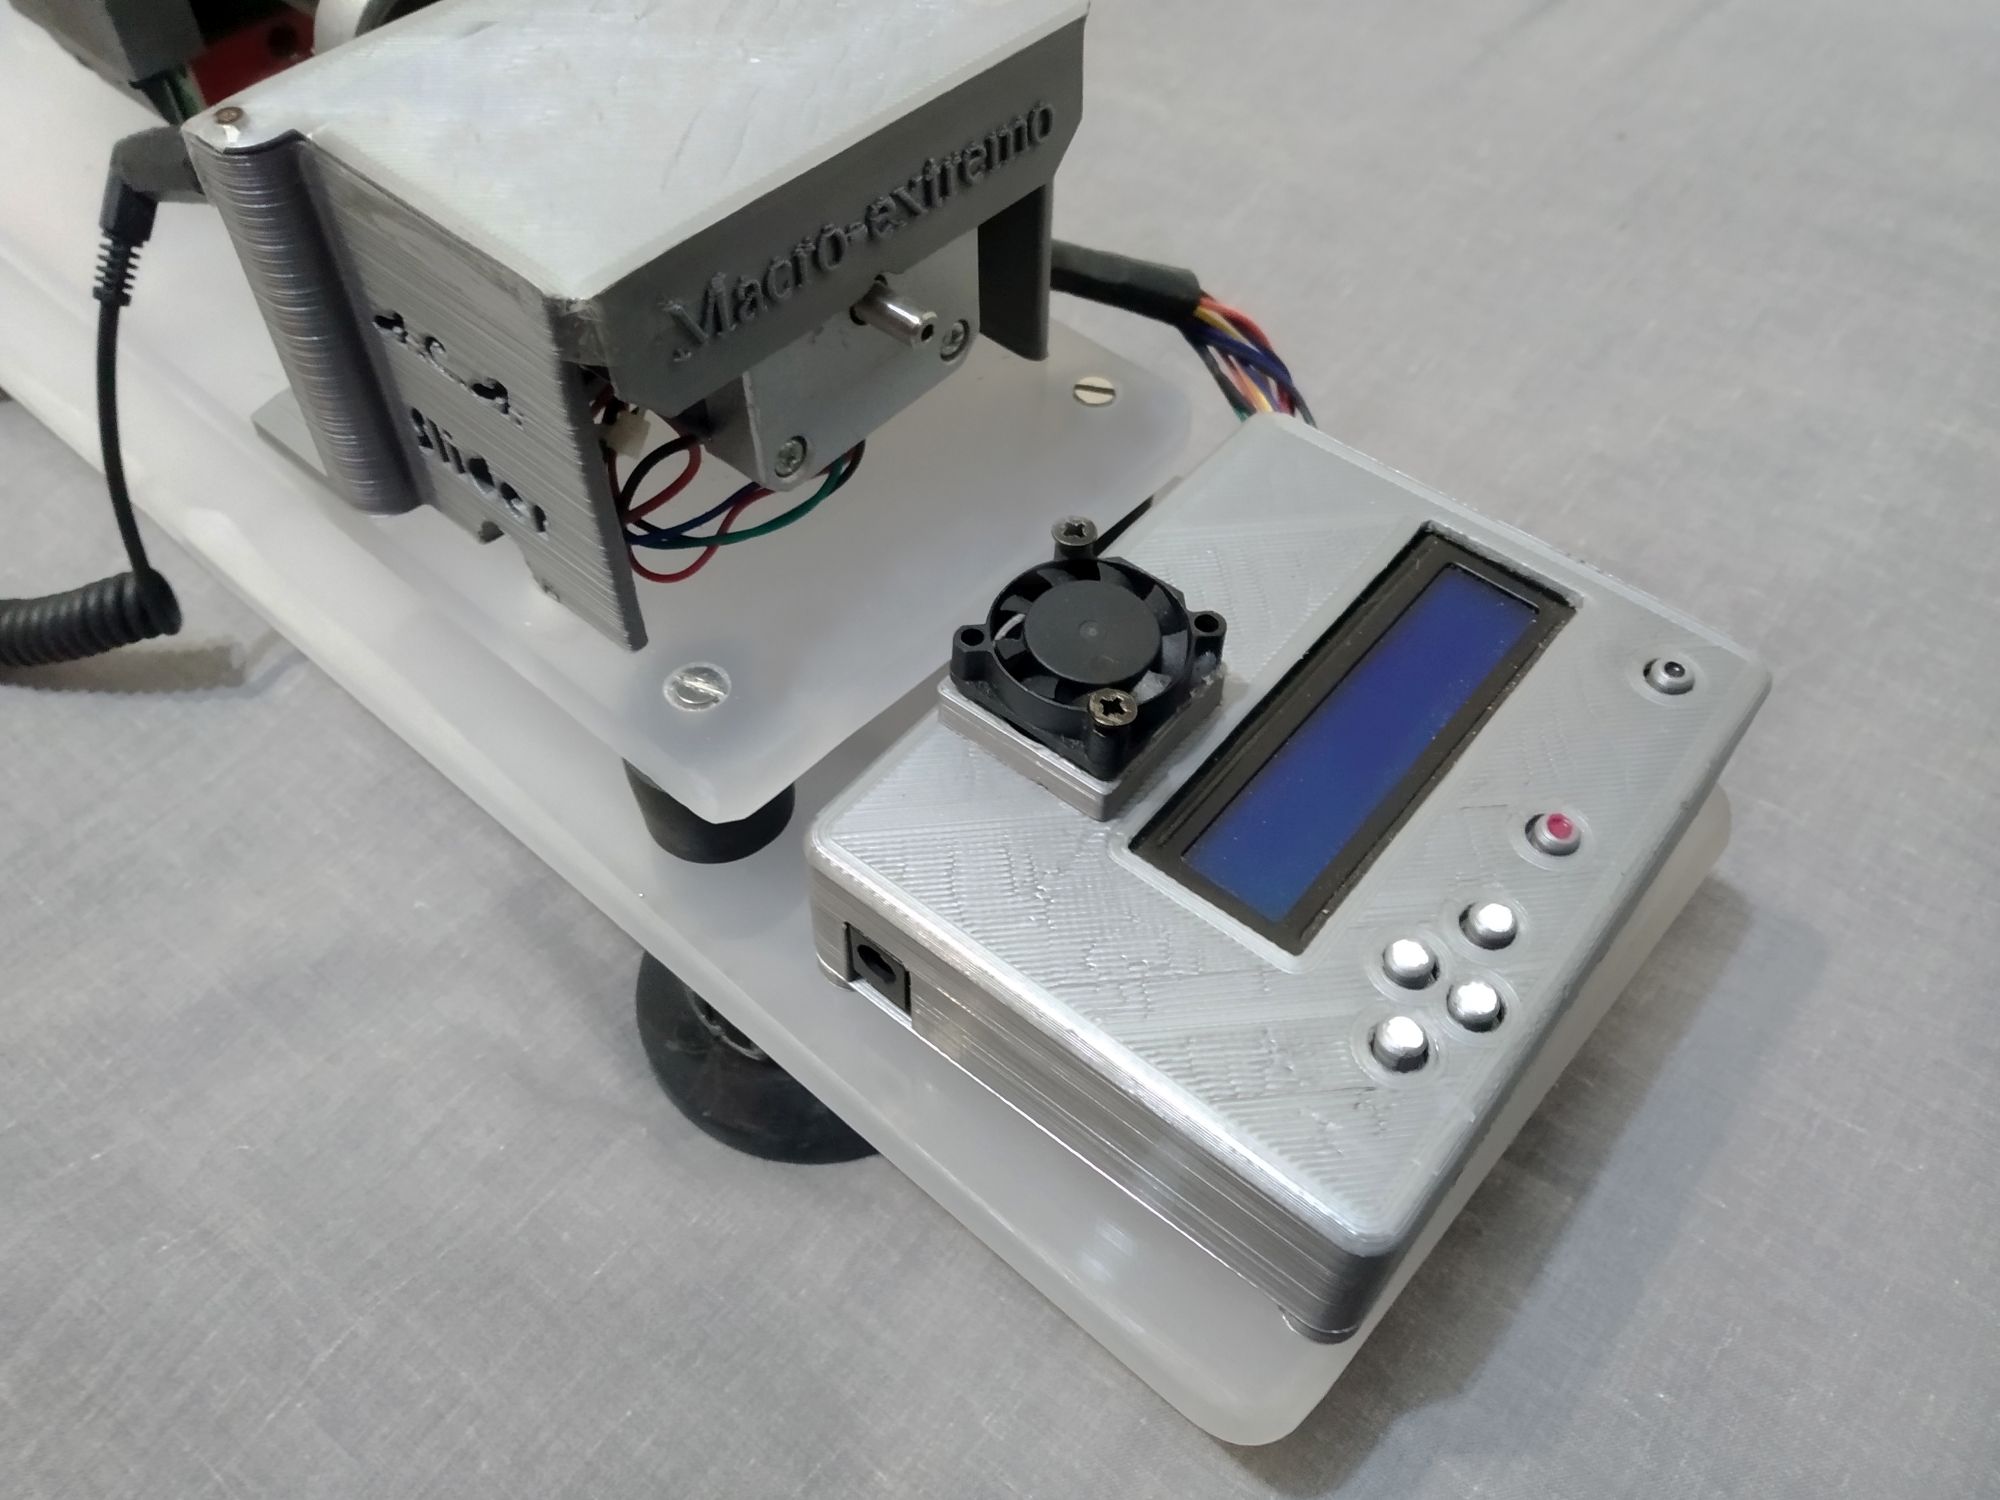
In the realization of the Slider and Macrophotography projects in the calls of Proiektuen Plaza of Medialab, it became necessary to simplify the electronics, since making the connections and the assembly in general using cables and modules separately, was complicated and not very stable. So it was decided to design a PCB that integrates all the necessary components for the two projects, simplifying the assembly (everything is soldered on this board), integration (housing design, etc), and stability, being able to adapt to any camera control with one or two motors and trigger control.

Step by step
- PCB. The project PCB can be downloaded at https://github.com/hirikilabs/SliderBoard and sent for fabrication to any online PCB manufacturer such as JCLPCB or PCBWay.
- Arduino Nano.
- Drivers de motor “Pololu” (One o two, depending on use).
- 16×2 lines LCD display.
- Optocoupler 4N35
- DC Jack
- Two 1N4007 diodes
- 10K variable resistor
- Two 100uF capacitors
- Resistors of 330 (2), 680, 1K, 2K2 and 3K3 all 1/4W
- 6 6mm PCB pushbuttons
- Pin strip connectors and two 3.5mm pitch PCB terminals
Solder all components on the PCB starting with the smallest ones, the order would be: resistors, pushbuttons, optocoupler, potentiometer, connectors and finally the modules. If only one motor driver is used, mount it in position “A2/Stepper”. We recommend connecting the modules using female pin strips on the PCB so that they can be easily replaced if necessary.