
Why do we use Co2 meters to see if a space is free of COVID-19? What learning can we extract from the Co2 measurement processes that are being carried out during the pandemic? What is needed to start measuring the Co2 concentration? How to collect, process and interpret the data collected with one of these meters? Can children do all this? Does the entire process of data collection, processing and analysis have pedagogical interest?
As the pandemic caused by COVID-19 progresses and the idea that the virus is transmitted through the air became certain, community science projects have appeared to keep closed spaces in good ventilation conditions. Lists of commercial sensors and their points of sale, tutorials to build them with basic components and little technical knowledge, as well as guides to collect, process and interpret data generated by the sensors have been published and shared.
Among other areas, these materials have been used in schools and universities to keep classrooms adequately ventilated. In the cases that we have analyzed, the use of this devices has meant an overload of work for teachers, while the process has been hidden to the students. What if the kids were in charge of doing it? What if, in addition to health purposes, we think about this process for pedagogical purposes?
The purpose of this project will be to experience the complete process: build the sensors, collect Co2 concentration data, process, analyze and visualize it and learn how to make conclusions. Always producing documentation that allows children and teenagers to understand and reproduce the complete process.
Step by step
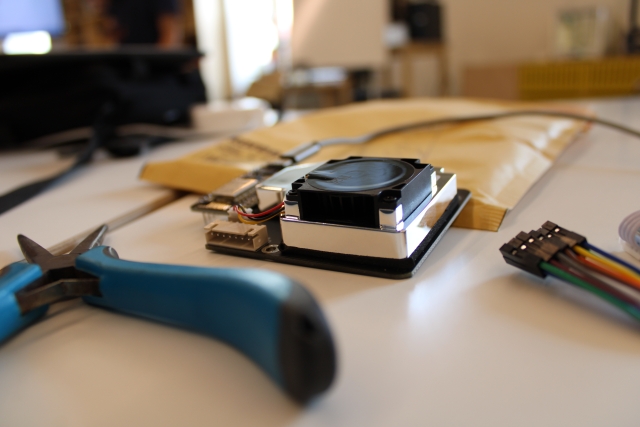
- CO2 Sensor MH-Z19B
- AZDelivery NodeMCU Lolin V3 Controller ESP8266 ESP-12F Module or SeeKool 2pcs ESP8266 ESP-12E CP2102 NodeMcu Module
- Power: Powered by USB cable. A mobile battery (power bank) is used. It can also be powered by plugging it into a laptop or directly from a socket.
Additional materials:
- Power Bank: For the meter to be autonomous and mobile, you can plug in a Power Bank.
- Housing: In eMariete there are several cases available to download that have been made by some of the people who have built a meter.
- LCD Display: This type of display can be used: OLED display module for arduino oled, 0.96 inch IIC display, 4 pins, White/blue/yellow, 128×64 12864 LCD display monitor.
- Sound alarm
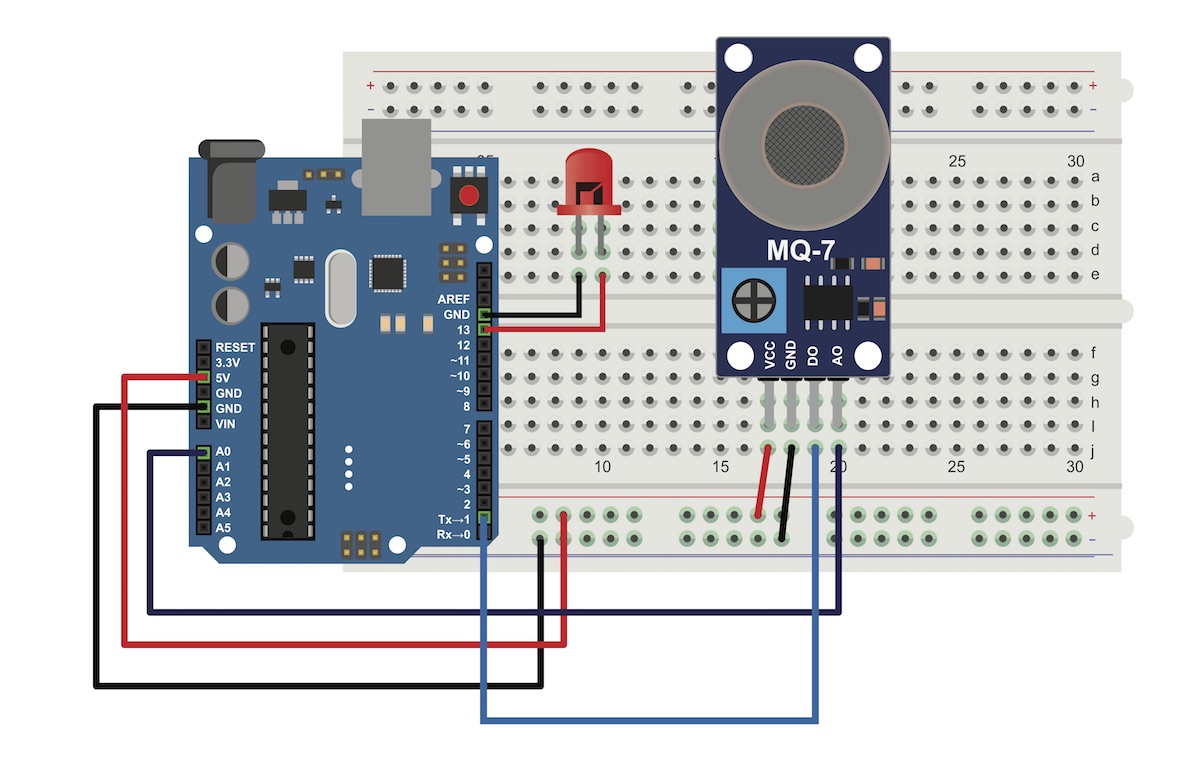
General building steps
- Weld the sensor to the board.
- Install the driver on the controller board.
- Connect to the Wi-Fi network (ESP-Easy) created by the board to access the meter. Password: configesp. Connect the meter to the Wi-Fi network we want. Once connected we can see the board configuration page. Important: write down the IP that has been assigned to the meter on the Wi-Fi network so that it can be connected and configured from a browser on a computer or phone that is connected to the same Wi-Fi network.
- Set up the meter. minute 14:30 of the video. Connect via HTTP to the specified IP. Register the sensor as an ESPEasy device.
- Calibration (not always necessary).
Notes on construction process
The control board we are going to use is the ESP8266. Information at: ESP8266 pinout
Used firmware at: firmware ESPEasy.
Alternative firmware at: ESP8266
The firmware installs the necessary software in the board to communicate with different sensors. We can activate the sensors through an integrated web interface, to which we will connect with any browser from a PC or a phone.
Code.
To install the firmware, it is necessary to copy a binary file to the board. There are several ways to do it:
- Using the web-app.
- Using the esptool command line application: (esptool write_flash 0 file.bin). We use the write_flash option to send and install the firmware (Option 0, available at the beginning of the memory) to prompt where to start hosting the firmware. 0 is at the beginning of memory.
The boards we use have 4MB of storage space. We flash the 4MB firmware version.
Once finished, we connect to the ESP-Easy wifi created by the controller (Password: configesp) only to configure it. We visit the default IP (192.168.4.1) in order to access.
Use the app fing to find the IP if necessary.
Possible issues can be identified through the serial port using cutecom.
Case. We have printed the following case, in two pieces.
We have created an app for Android to store the data collected by the sensor, developed with the MIT app-inventor. Download link
- eMariete’s videotutorials
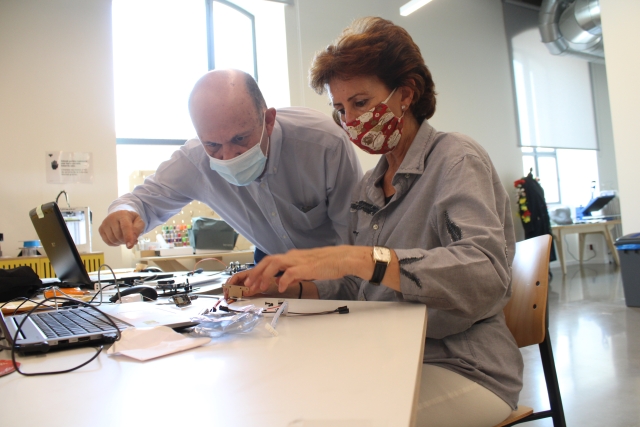
- The videos have been created during the Medialab Tabakalera’s workshop
- Workshop information is based in Blog eMariete
- Methodological proposal