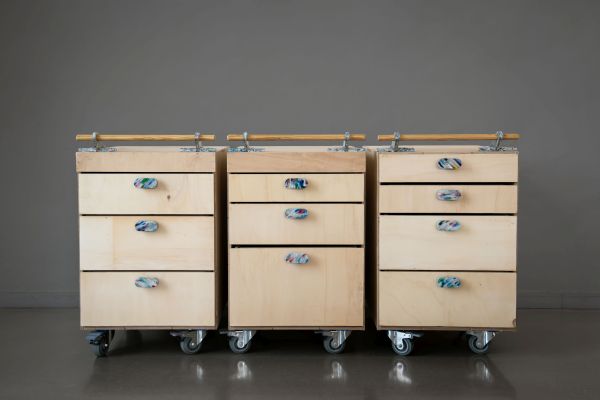
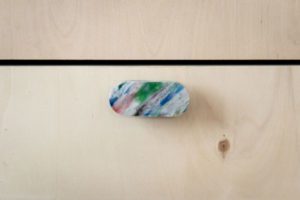
Chest of drawers for storage of tools and consumables. This project has two parts: on the one hand the wooden drawer unit, for which you can follow the FabLab drawer unit project; and on the other hand the fabrication and placement of the handles made with Precious Plastic machine.
Step by step
- Step 1. MILLING FILES:
-
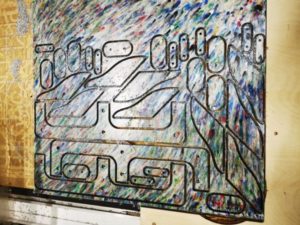
- Program the cnc machine available with the cutting files. Each dxf file contains a set to make 10 handles.
- Load the CAD files to the CNC milling machine program. The plastic panel must have a thickness of 15 mm, and a surface proportional to the number of pieces that you want to make, taking into account that the minimum distance between pieces is 15 mm. A 1-flute cutter for plastic with a diameter of 6 mm will be used.
- Step 2. SANDING
- Once the milling process is finished, you must remove the pieces and sand well the joining tabs that remain and get rid of any damage on the sides. This step is important because when joining the set there must be no space left between the parts.

- Step 3. ASSEMBLY OF THE SET (Handles)
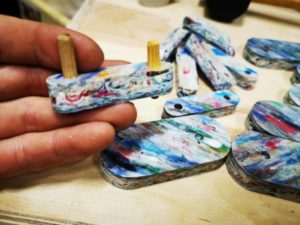
- Now we are going to make a handle. To start we are going to take the 2 parts as in the photo and we place 2 6 mm wooden dowels, we put a drop of cyanoacrylate glue and we hammer the 2 pieces together in order to join them. We will find the 2 pieces joined together and the 2 tubes protruding from it.
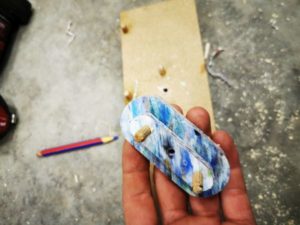
- Step 4 . NAIL GUN
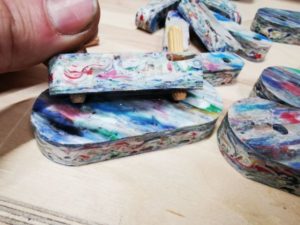
- Next we nail some 20 mm nails with the compressed air gun. This will unite the set in a stable and long lasting way.
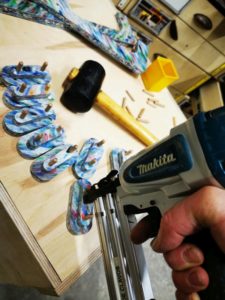
- Step 5. DRILLING TEMPLATE
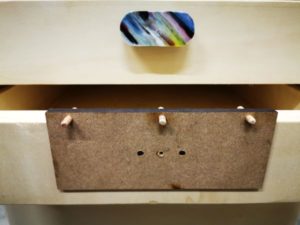
- Now we take a laser cutting template that is in the attached files and position it at the top of the drawer, center it in the middle and make 2 6 mm holes for the studs. We help ourselves with 2 clamps to hold while we drill.
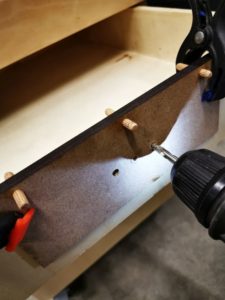
- Step 6. ASSEMBLY OF THE HANDLES
- After making the holes we can position the handles. We put white glue on the studs and together with a nail gun we join the plastic to the wood.
