Reworked version from 1879 of the praxinoscope by Emile Reynaud, invented by himself a couple of years earlier. This version includes a scope that creates the illusion of witnessing an animation in a theater.
The praxinoscope consists of twelve mirrors that reflects a film with twelve animated frames. When spinning the device, the frames will magically move.
Step by step
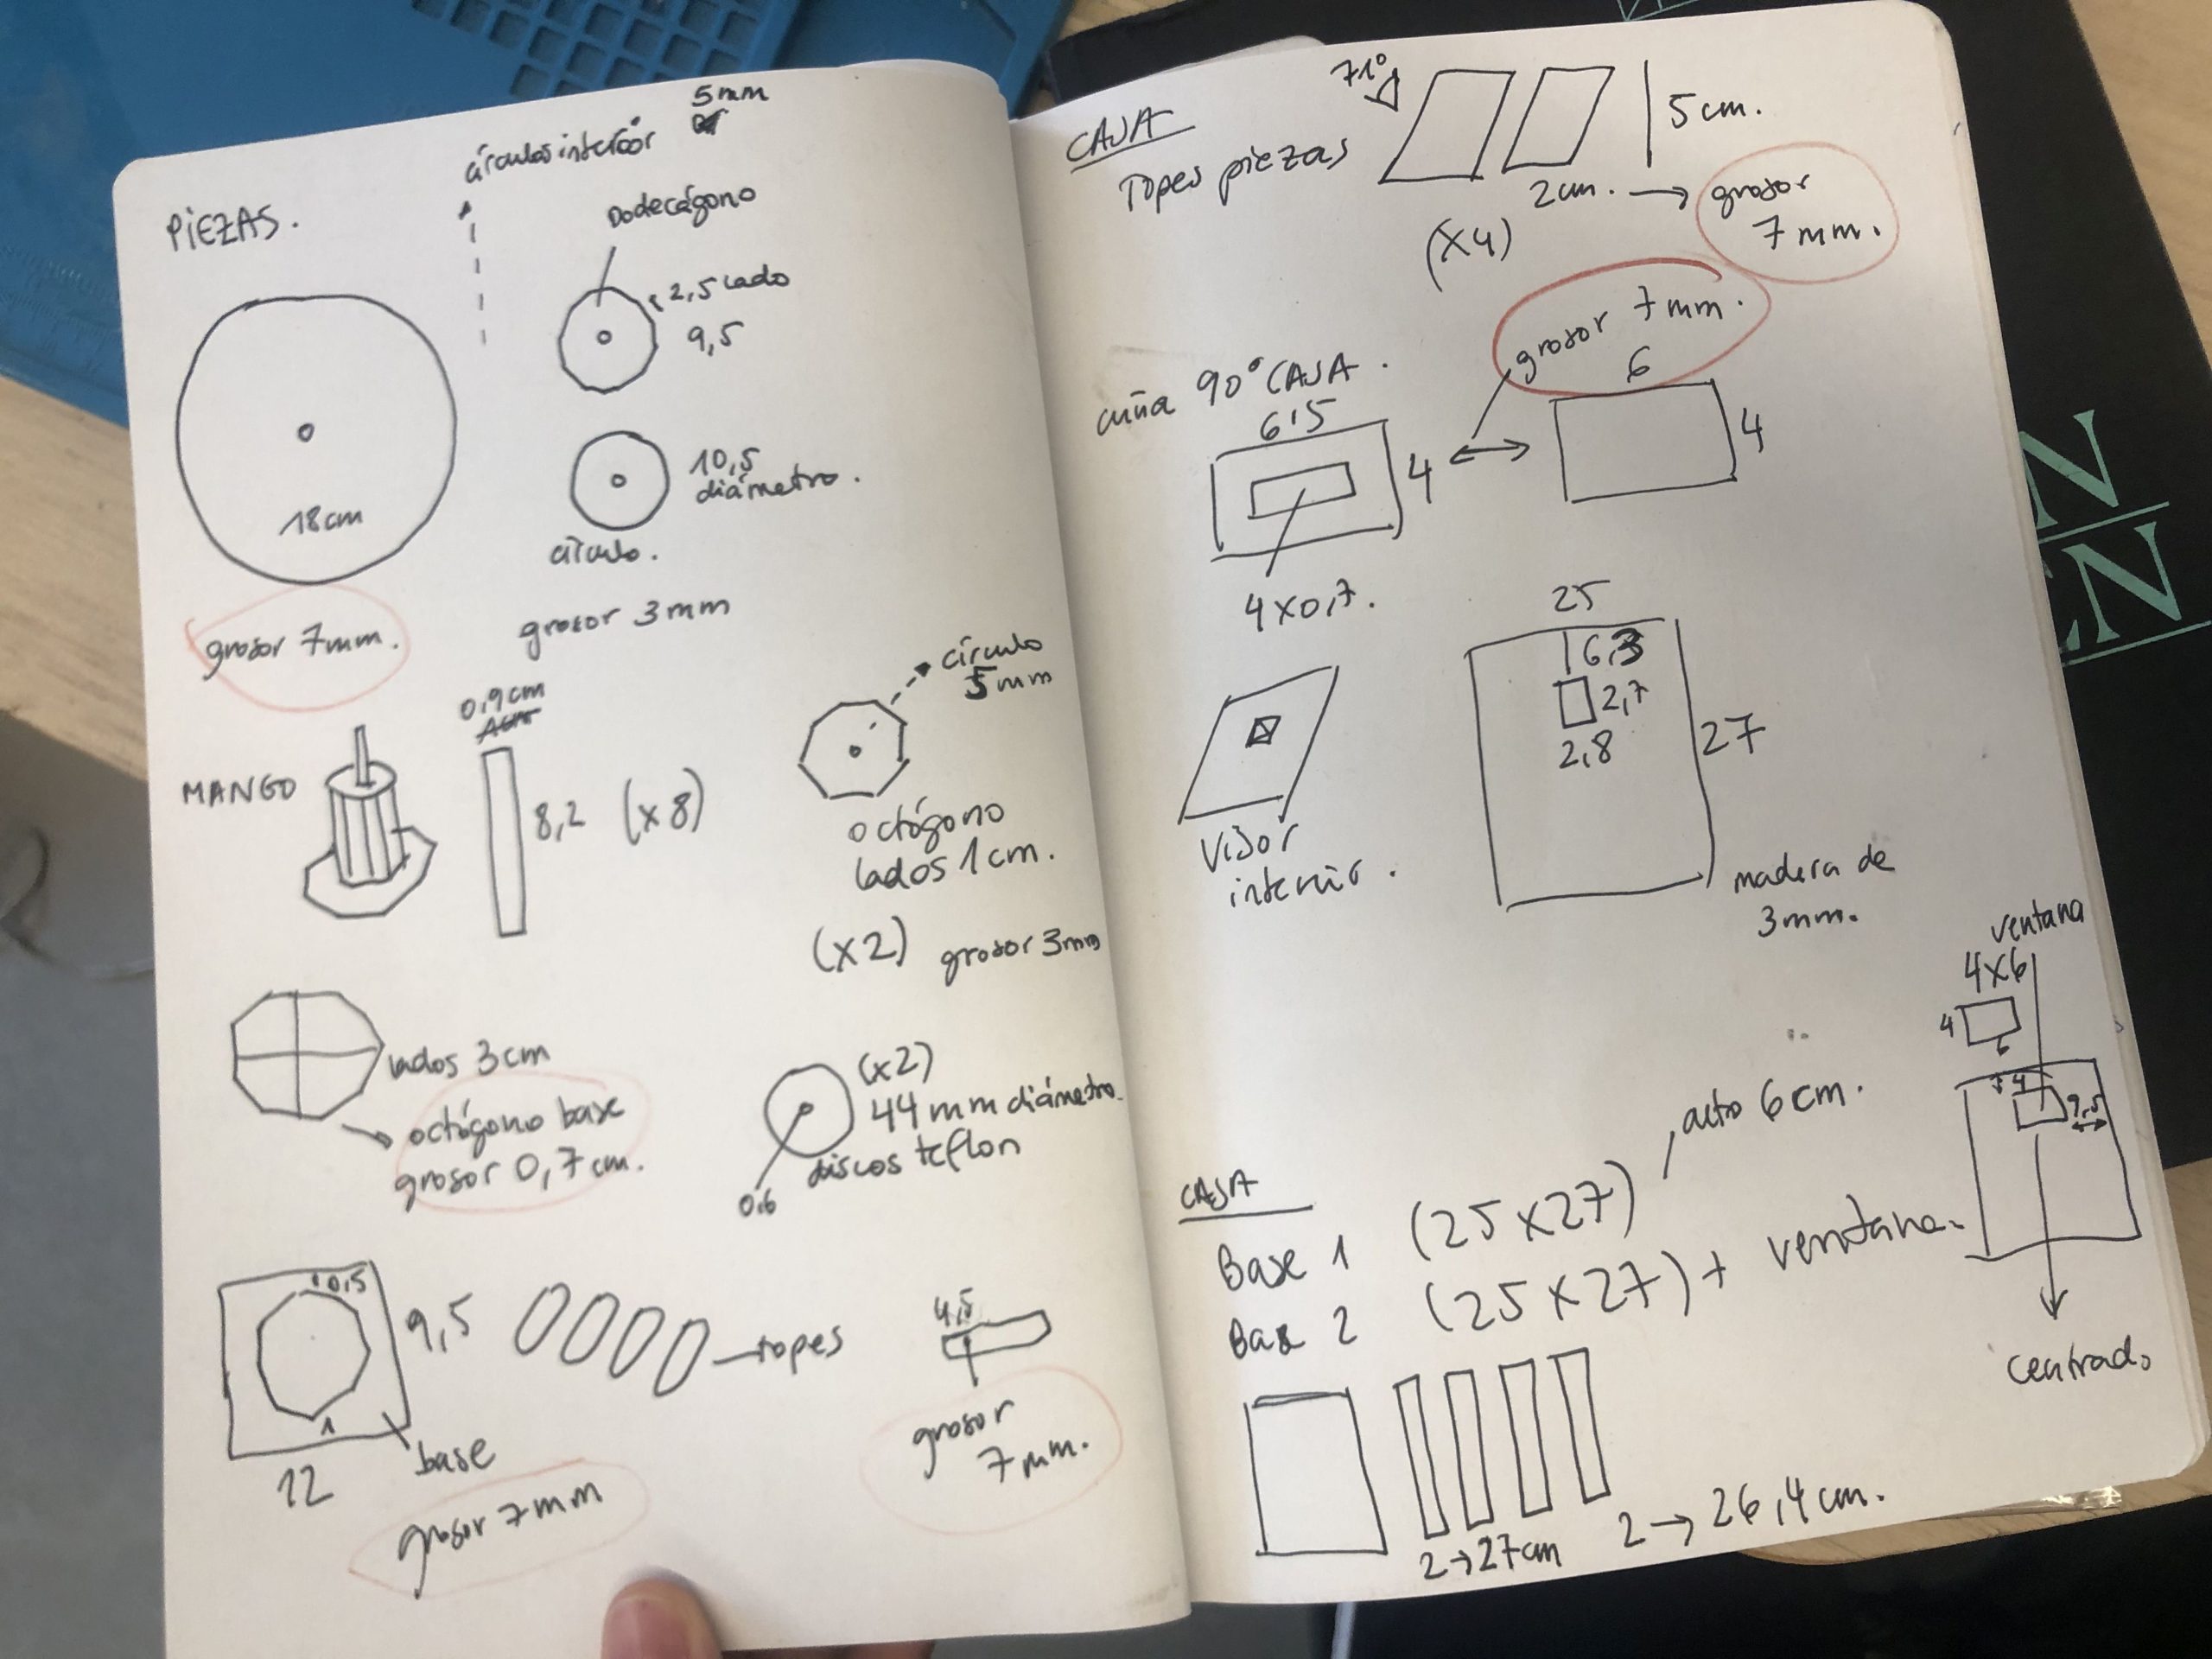
- Plywood board, 7mm.
- DM wood, 3mm thick.
- Teflon board, 2mm
- Wooden rod, 5mm thick, 16cm long.
- Striated rod, 1cm, thick, 3,5cm long.
- Black cardboard strip 58×5,7cm
- Black cardboard 25x27cm
- A3 size sheets to print the template of the animation film.
- Two hinges, 5cm.
- Screws, 2,5x8mm
- Headless nails, 1,5cm long.
- Cyanoacrylate glue.
- Clippings and cutouts to decorate the box.
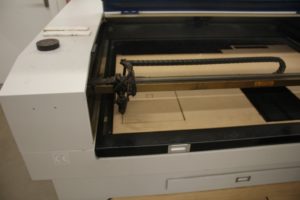
- Cut all pieces on the laser cutter following the templates.
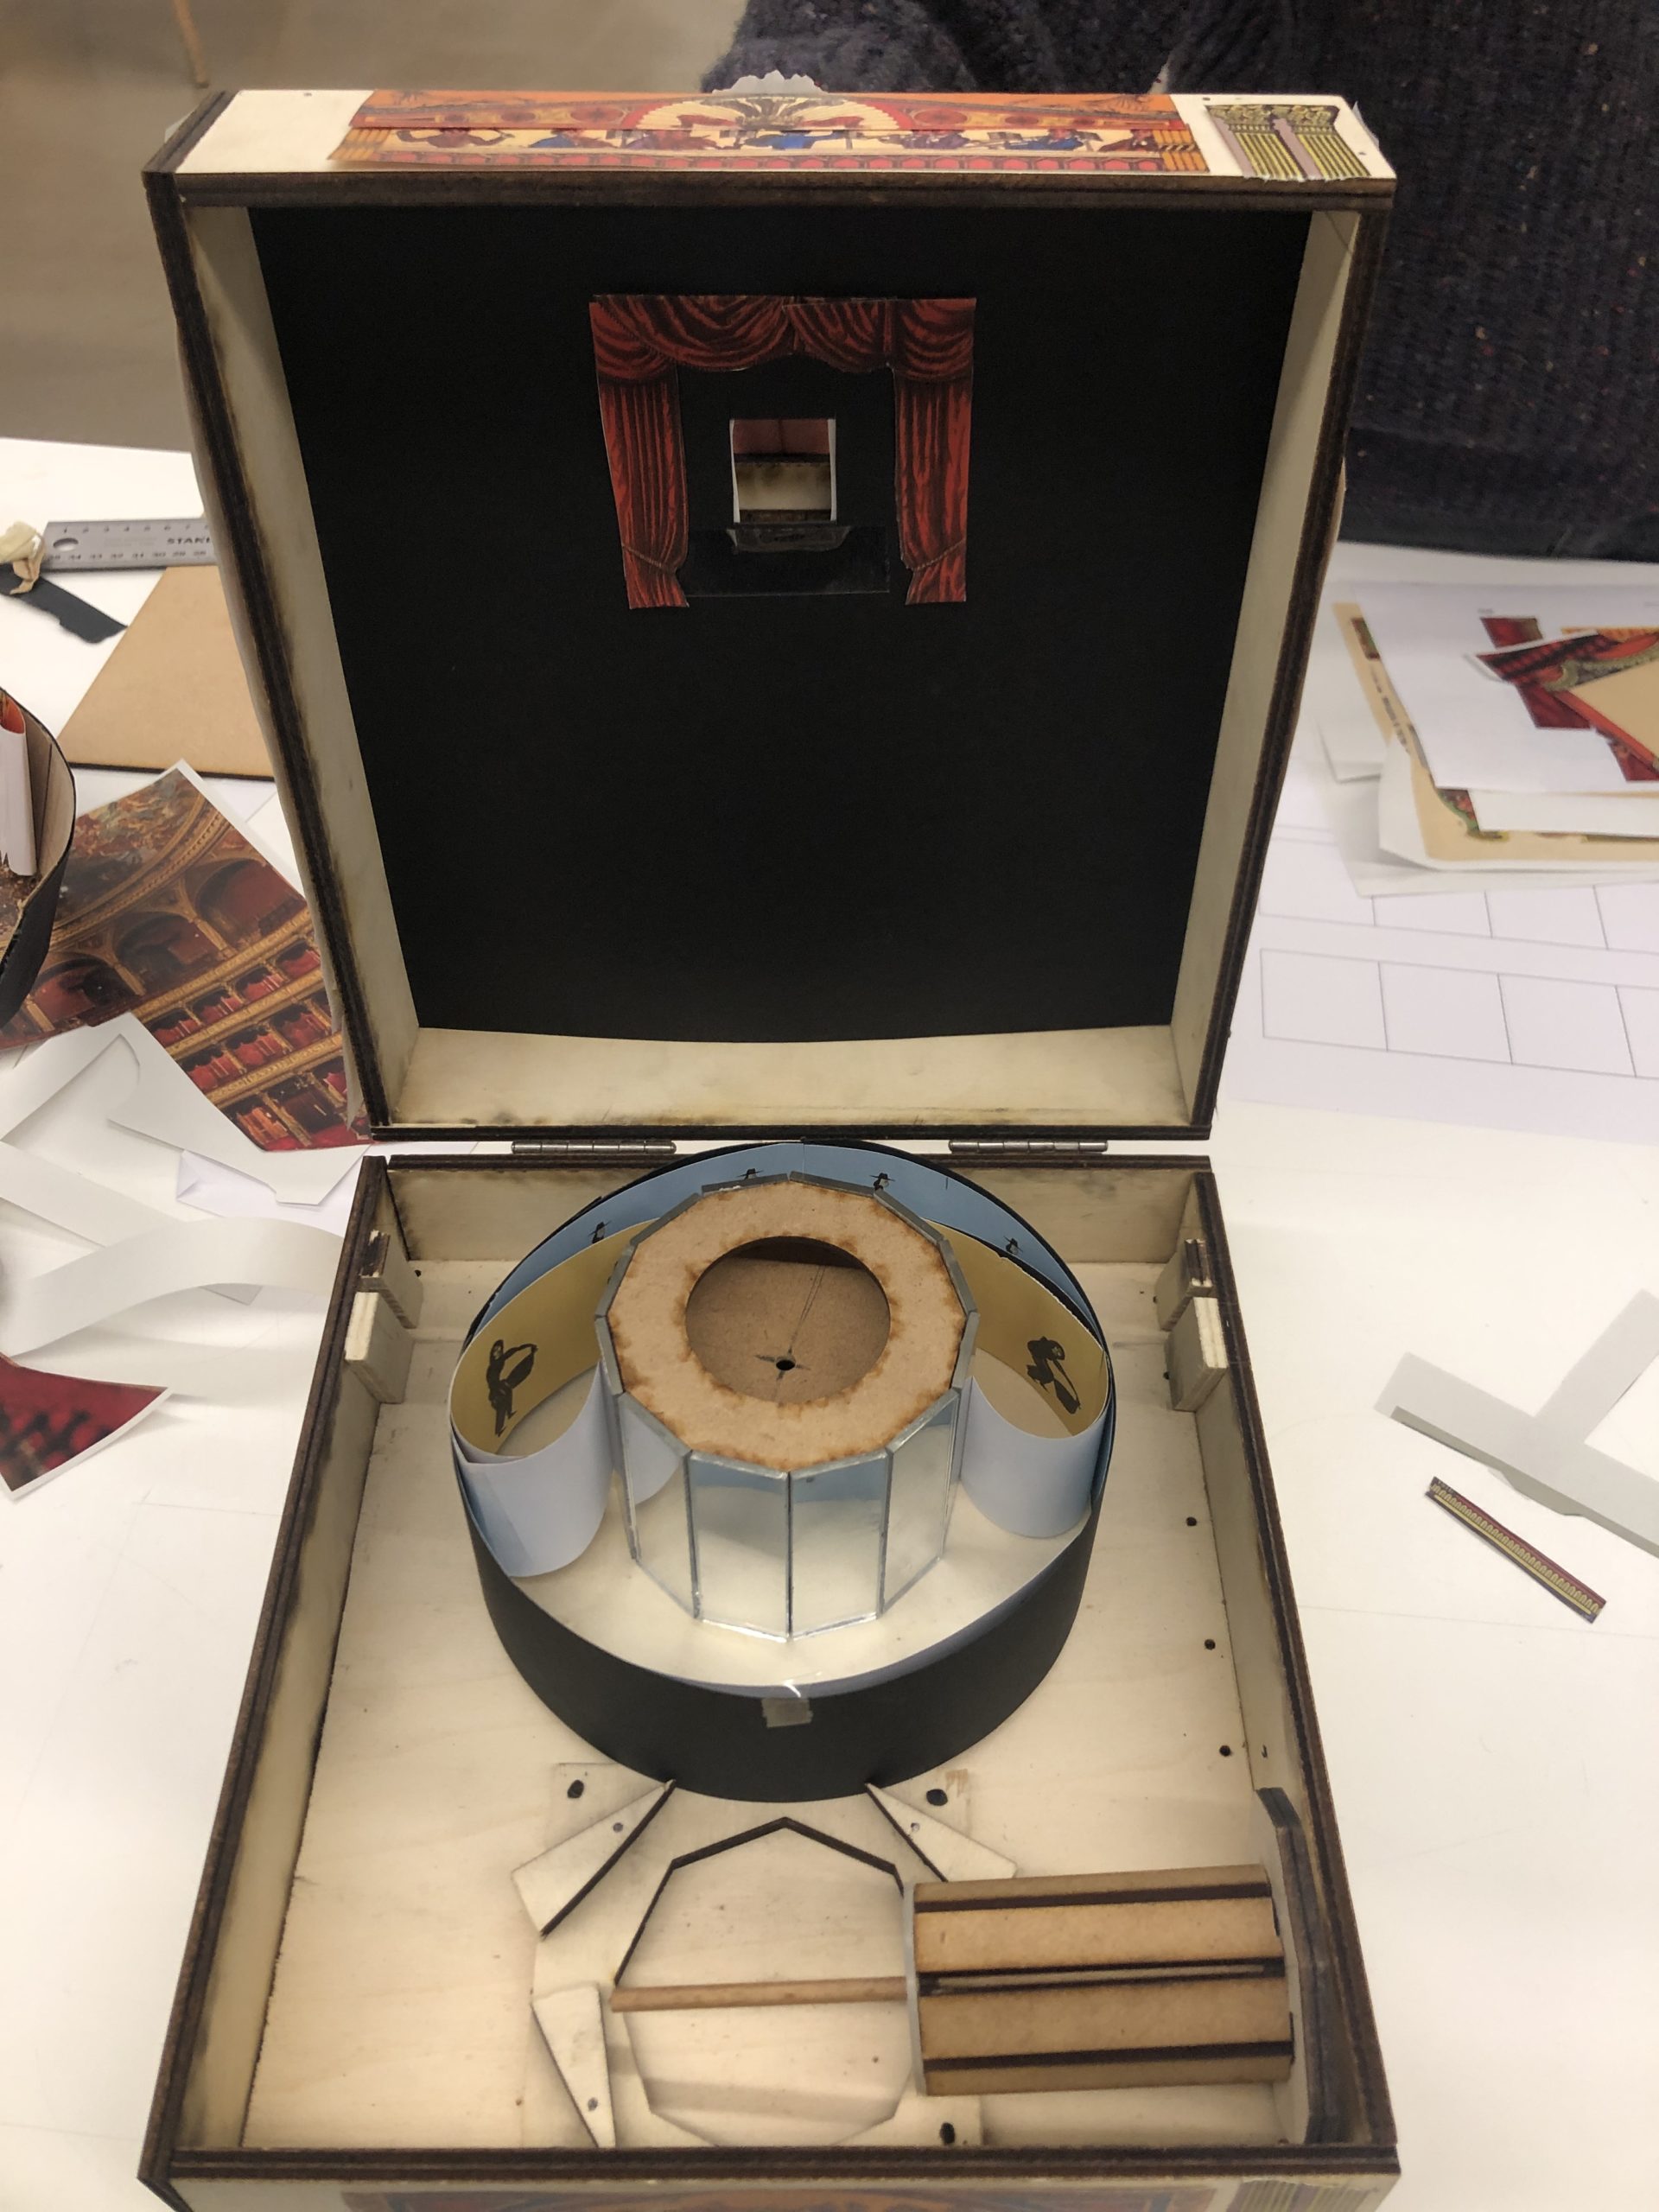
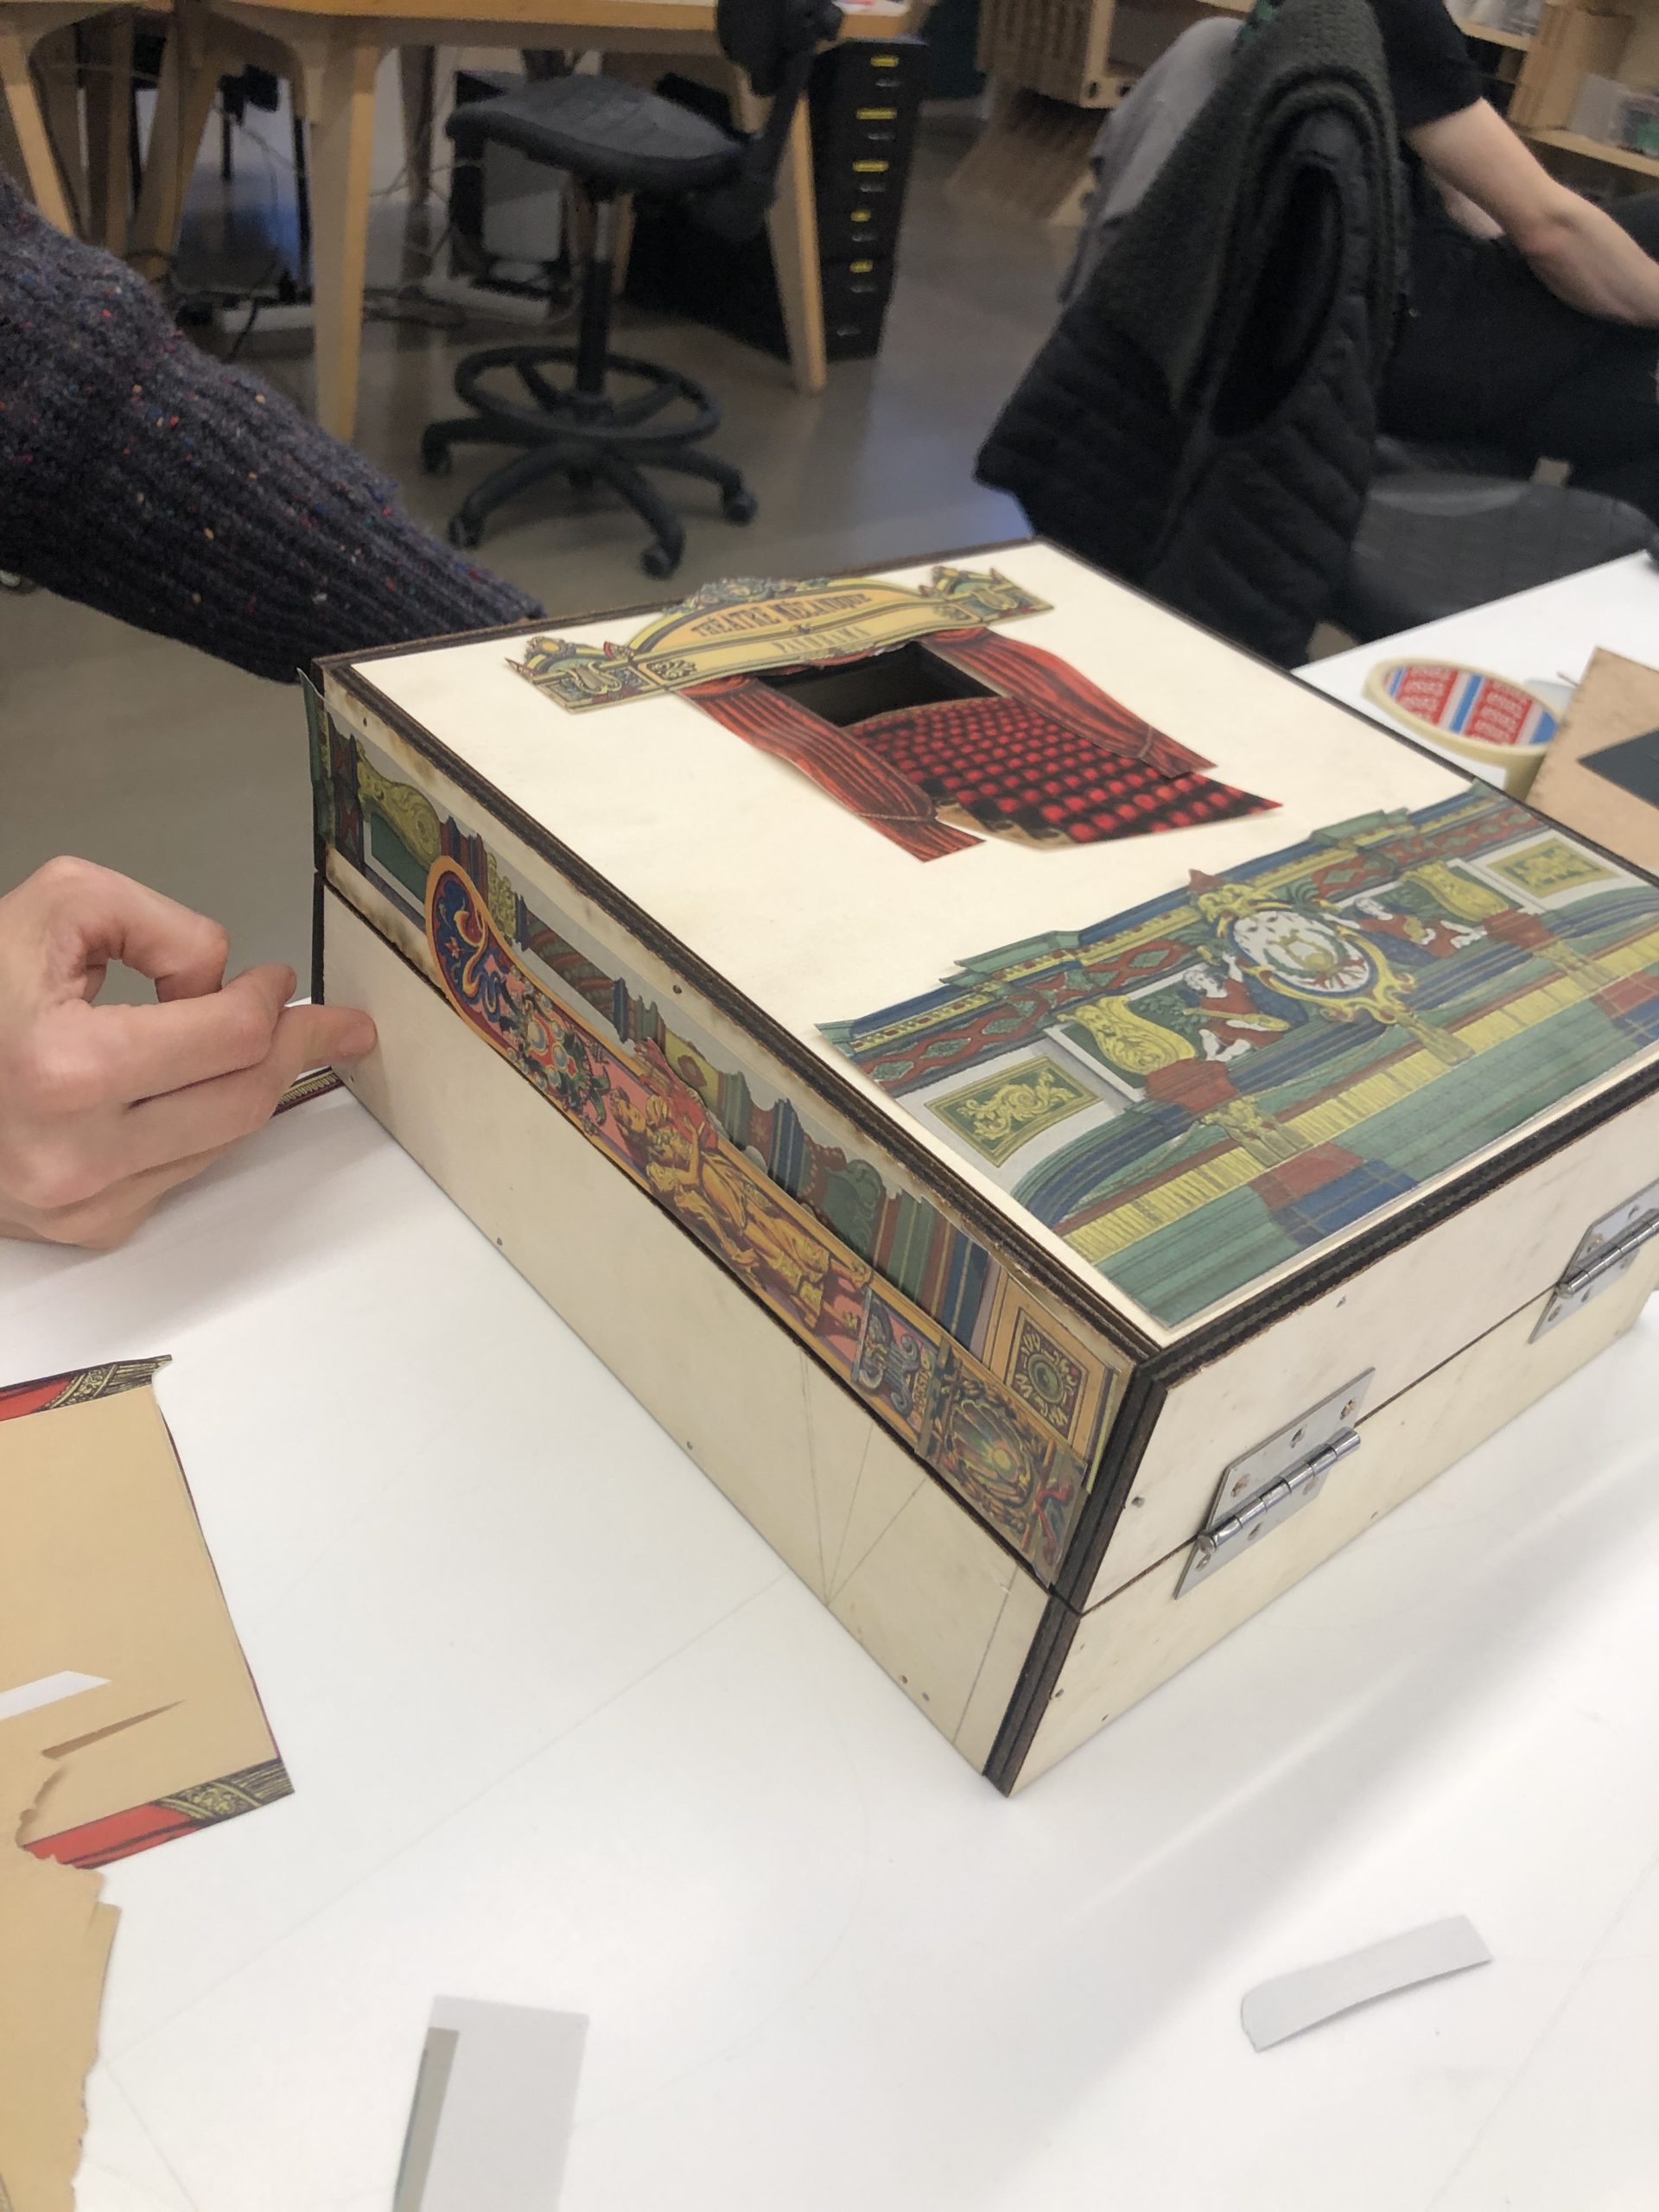
2. Build the wooden box, merge both pieces with the hinges. The box should maximally open to a 90° angle.
3. Build the core of the praxinoscope. Place the mirrors upside down on a surface, link them with masking tape and stick one of the two 9,5 cm dodecagons on the middle of the mirrors. Stick the second dodecagon on the upper side and finish sticking the 10,5cm circle on the drum.
4. Stick the mirror drum on the big 18 cm diameter circle. Stick oppositely to the side where the upper wooden circle should be.
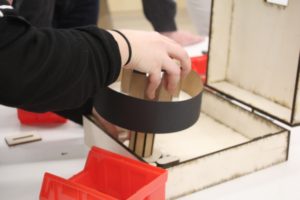
5. Stick the film (58,5,7cm) around the big circle in the drum.
6. Place the striated rod through the hole, no need of gluing. This will be the handgrip to spin the praxinoscope.
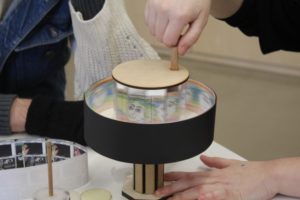
7. Build the handle. Stick all eight DM pieces to the octagon, putting one of the octagons on the upper side and the other one on the lower side. Introduce and stick the 5mm rod through the handle so it comes out through the upper side. Stick the handle, while the rod comes out through the upper side still, on the big octagon (1cm thick).
8. Stick one of the Teflon discs on the upper side of the handle and the other one on the lower side of the drum, so the holes are parallel to each other.
9. Attach the drum to the handle with the rod. At this point, the praxinoscope is already independently functional.
10. Place the clamp stop of the handle inside the box. Stick the octagon template and attach the wooden clamp stops with a nail, one clamp stop on each side of the template.

11. Attach the paxinoscope inside the octagon.
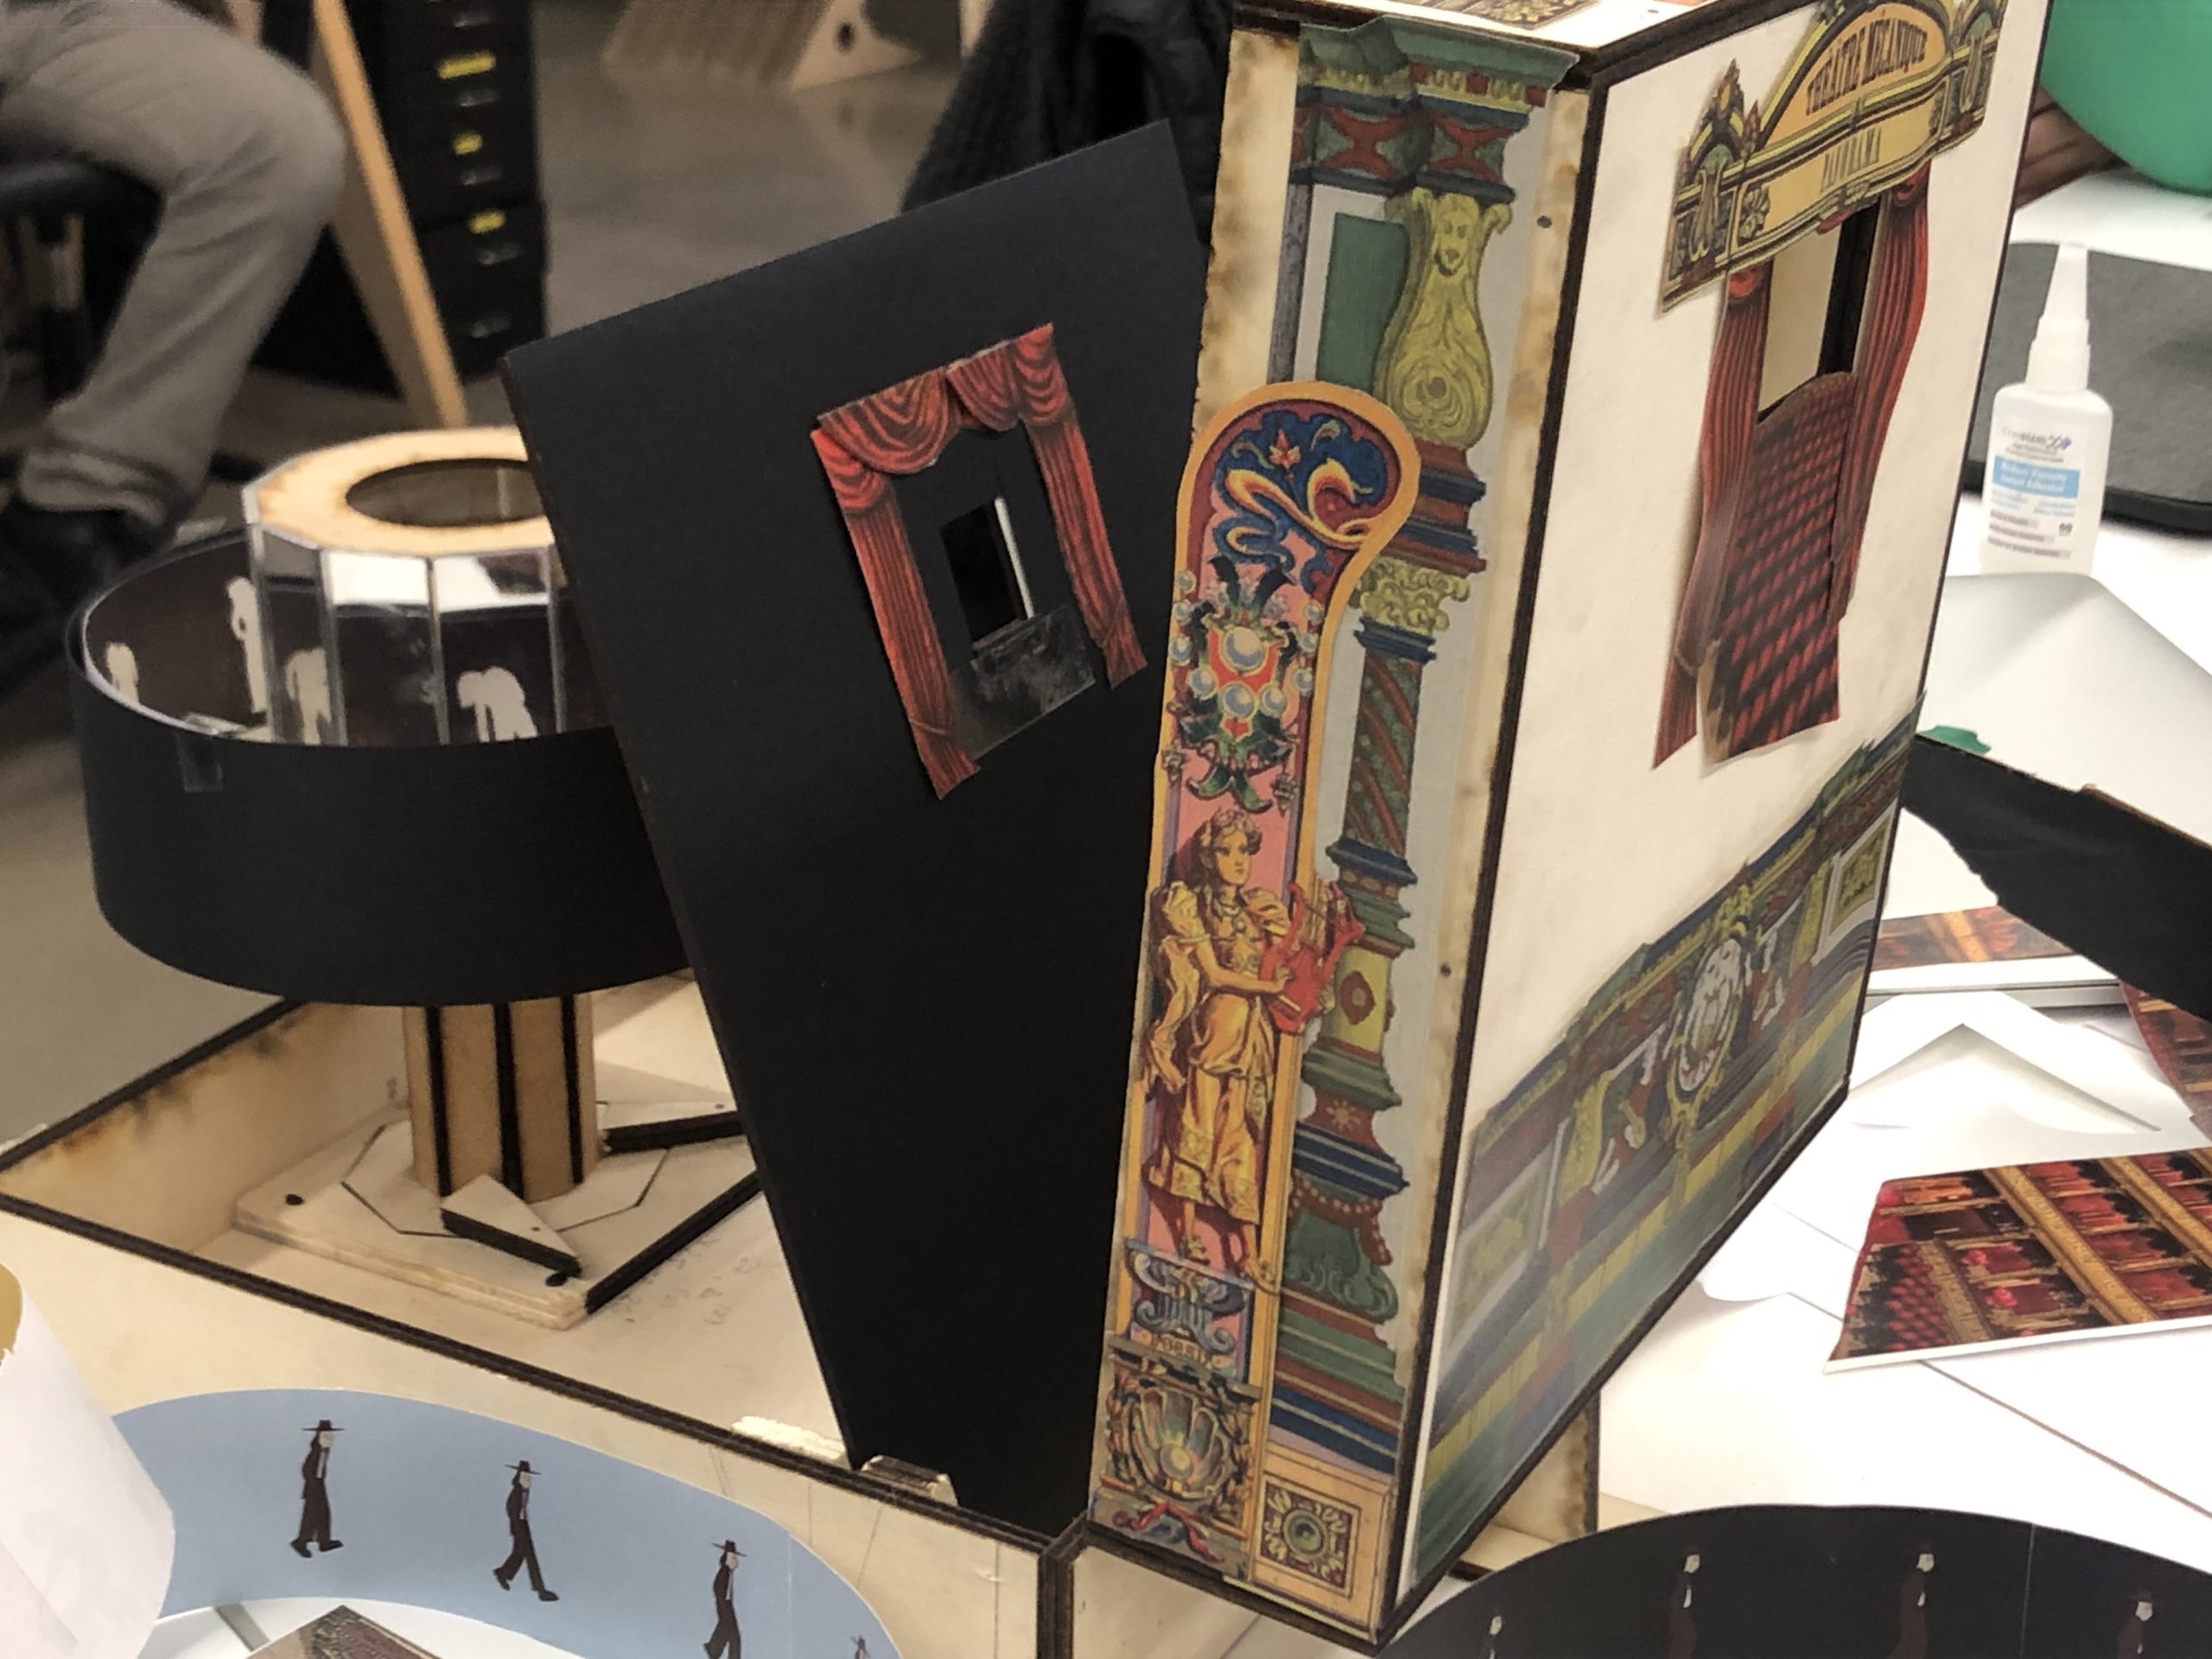
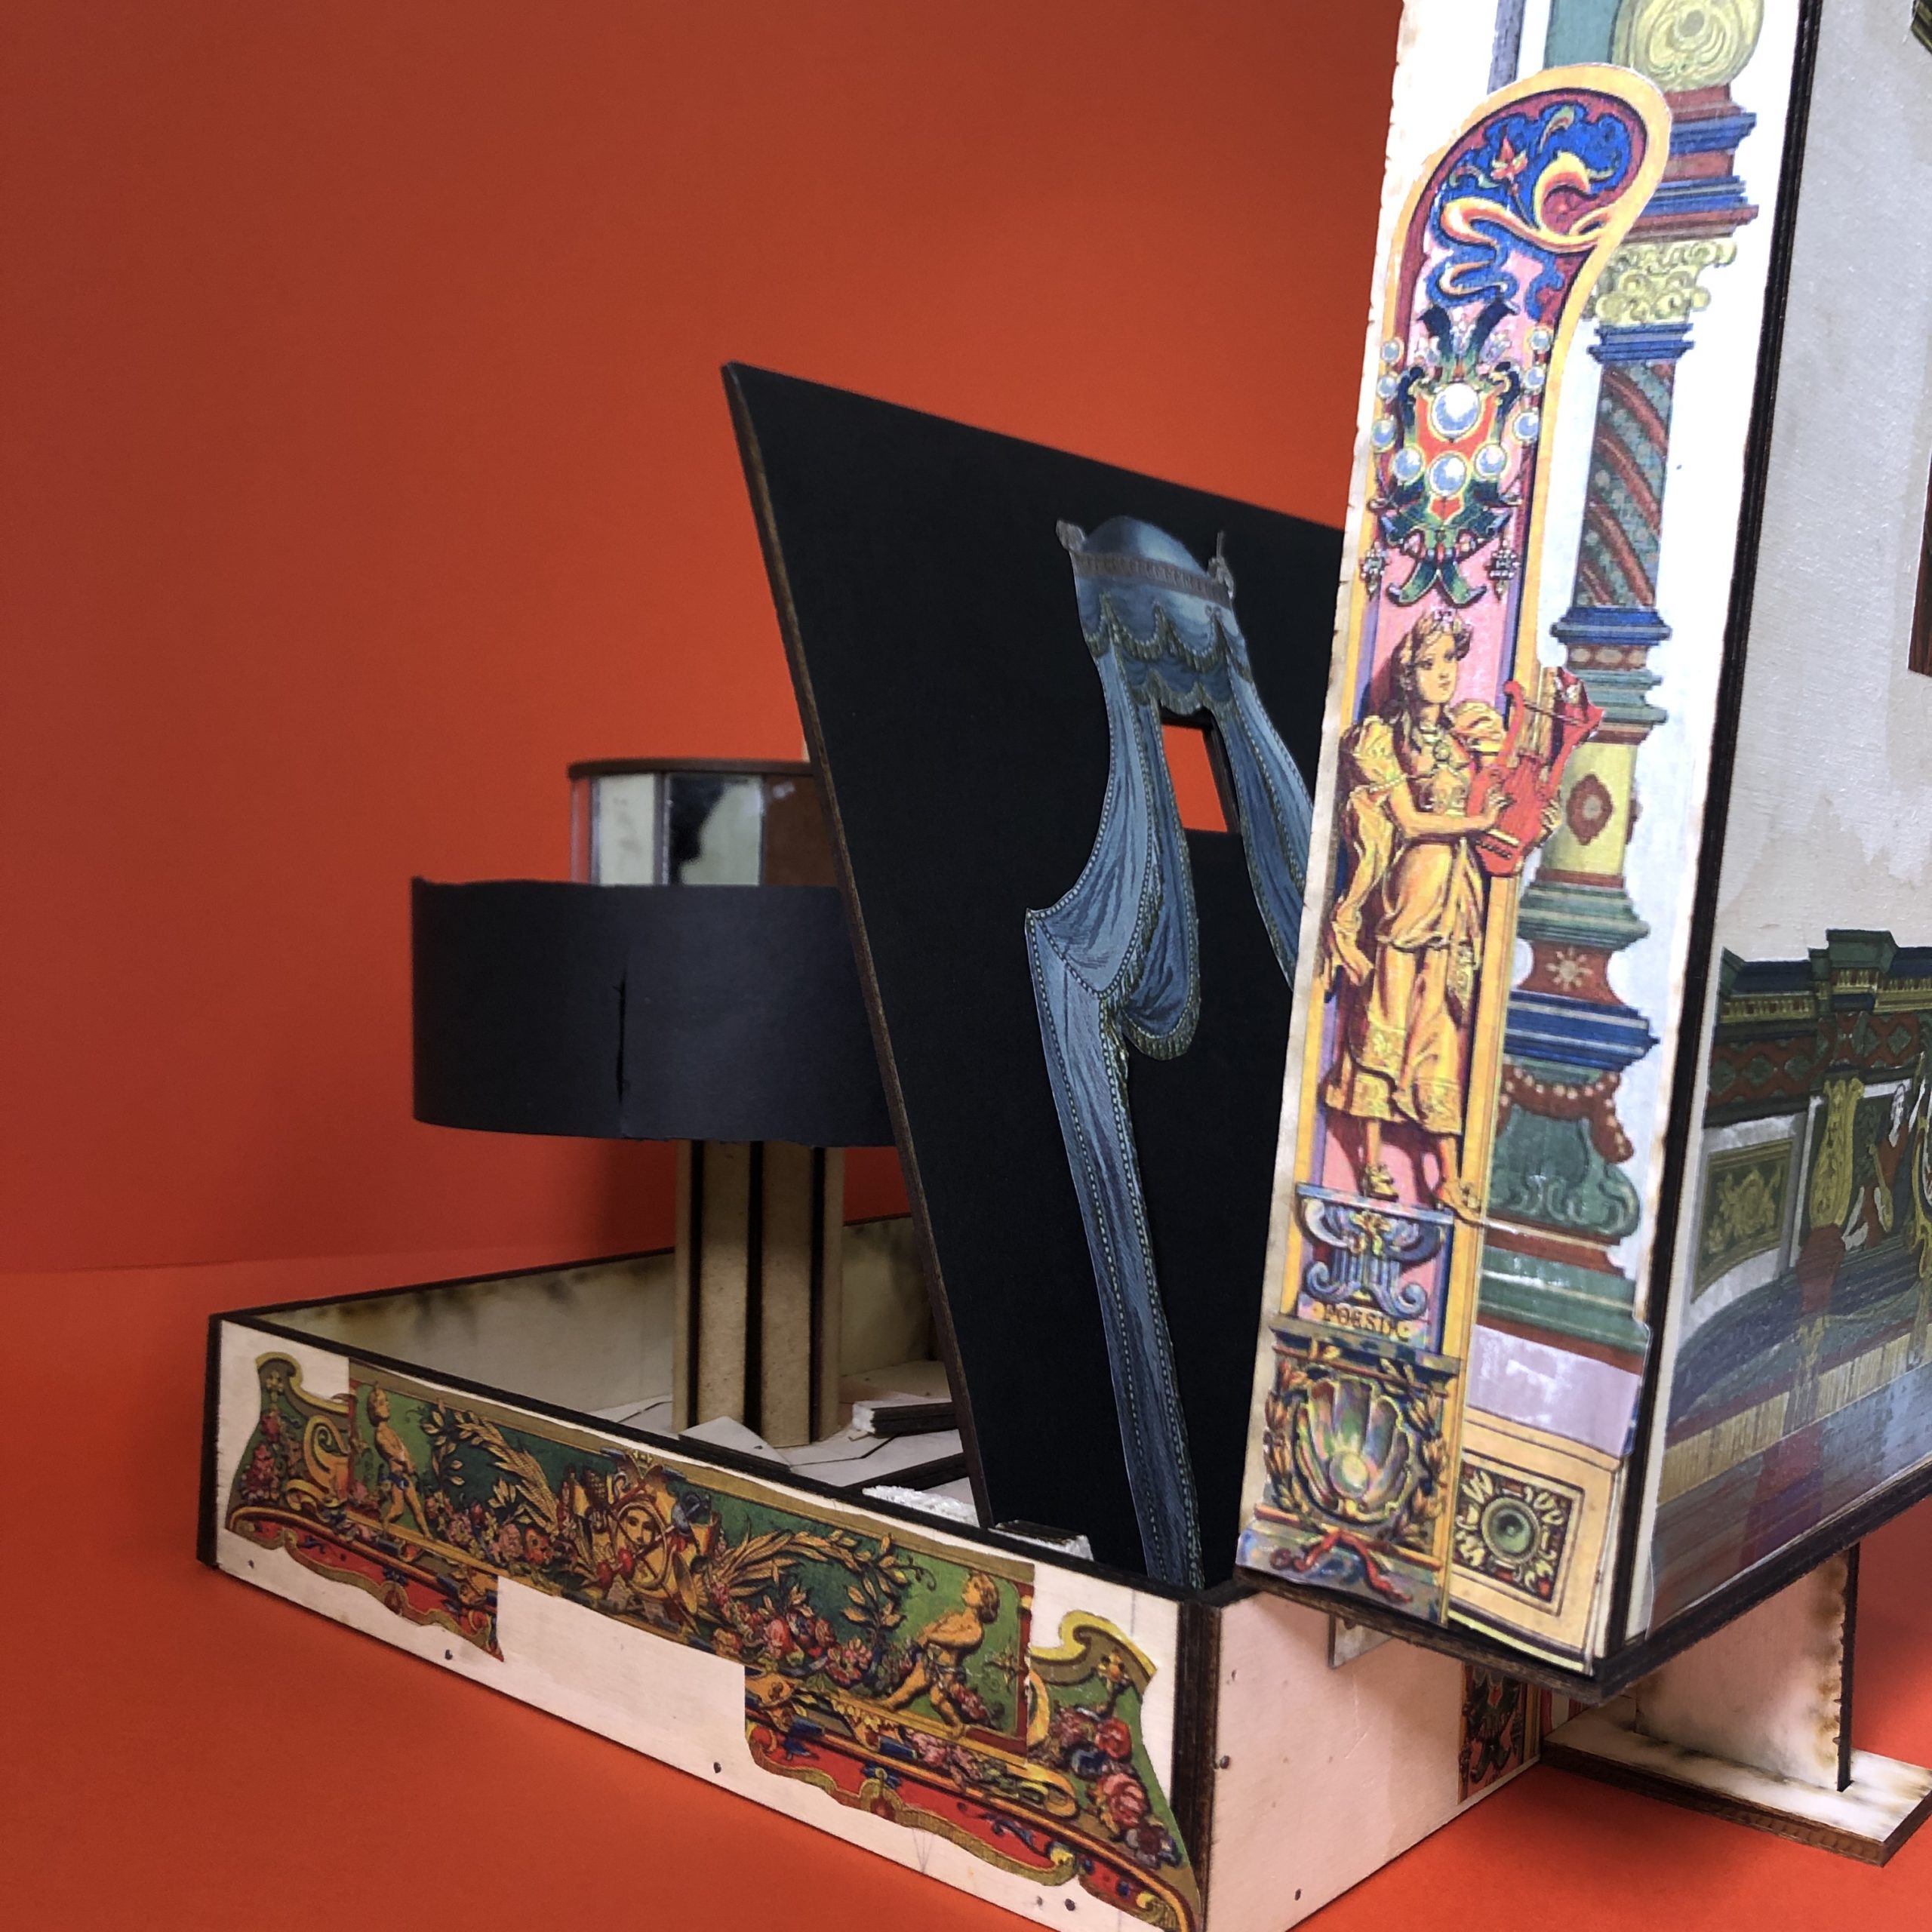
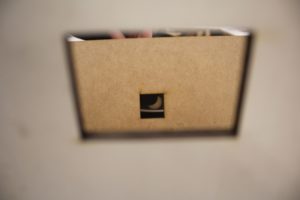
12. Set the scope. Assemble the wooden guides in the box. Place one 3cm away from the hinges and the other one taking the wood of the scope as reference plus a black cardboard with the shortened scope. Make sure they are not too tight or loose.

13. Draw twelve frames on the film template. The template is designed to be printed on an A3 sheet and consists of twelve frames, separated in two parts.
14. Place the film inside the drum of the praxinoscope and align one of the lines between two frames with the line between the mirrors.
15. Spin the praxinoscope by the handgrip and enjoy the animation by looking in the scope.
16. It is possible to decorate the box by sticking magazine cutouts to make it look like a theater stage.
17. All elements are demountable and can be stored inside the box.
*The box is not necessary for the praxinoscope to function.